
How to Turn a Basement Into a Home Theater
How to Turn a Basement Into a Home Theater
.jpg)
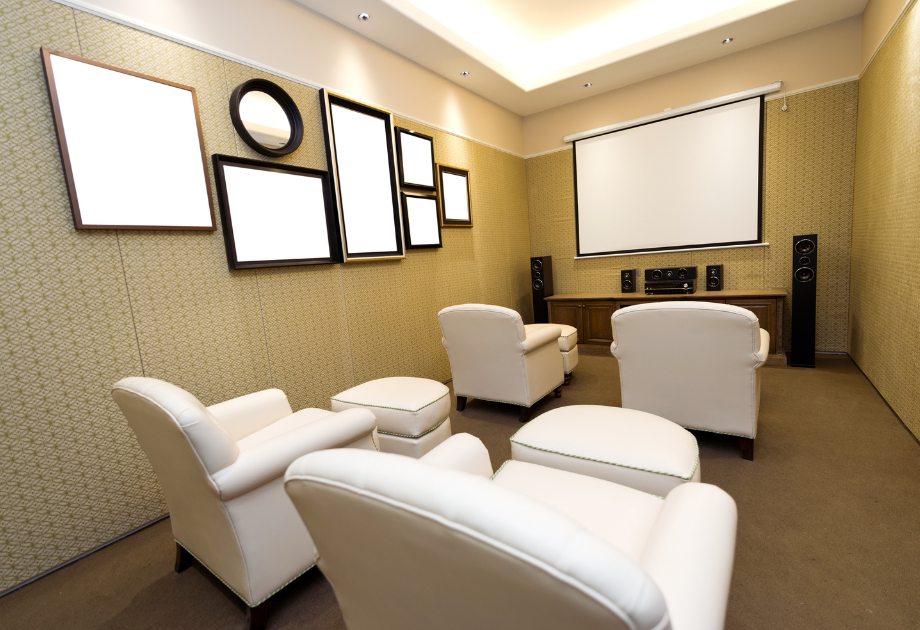
You have a basement that isn't doing much. And you've been thinking about turning it into a theater, with a big screen, seating built for it, and a room that goes completely dark.
Most home theaters never get a room of their own. 62% of them sit in a living room or den, sharing space with everything else a family does in a day. Someone runs the dishwasher during the third act. Afternoon sun washes out the picture. Your basement has neither problem. It sits away from the traffic upstairs. And you can close it off and build it around one use.
A home theater means a screen 50 inches or larger, or a projector, paired with surround sound. That equipment is the visible half of the project. The other half goes in behind the drywall, and it decides whether the visible half holds up. Moisture control, sound isolation, wiring, and airflow all get installed before the first speaker goes on a wall, and they go in a fixed order.
Start With Moisture Control
Your basement sits below ground, which changes what has to happen first. Soil holds water against the foundation after every storm. Concrete absorbs it. The damp air that results works on drywall, on wood trim, and on the electronics you plan to install down there.
The EPA recommends keeping indoor humidity below 60%, and between 30 and 50% where possible. Hitting that range takes sealing, drainage, and usually a dehumidifier. A moisture barrier goes under the flooring as part of this same stage, not as a flooring decision months later. If the basement has ever been damp, find the source and fix it before anything else. Every step after this one assumes the room is dry.
Soundproof the Walls, Ceiling, and Doors
Soundproofing a basement home theater does two jobs at once. It keeps the movie in the room, and it keeps the rest of the house out.
Sound travels through anything solid connecting the room to the house above it, so framing is the first path to handle. Resilient channels or isolation clips hold the drywall away from the studs. So vibration stops there instead of carrying through. Insulation in the cavity and a damping layer between two sheets of drywall add to the effect.
Doors are the next weak point. A hollow-core door passes almost everything. Swap it for a solid-core door, then add a perimeter gasket and a drop-bottom sweep. After that, the doorway stops leaking sound in both directions.
Ducts are the path most people miss. An HVAC run serving both the theater and the bedroom above it carries sound between the two rooms unless it gets baffled or run in flexible duct.
Bass is hardest of all, because low frequencies move through structure rather than air. A subwoofer sitting directly on a basement slab turns the floor into a speaker. Isolation pads underneath break that contact, which is why the bedrooms overhead stay quiet while the movie plays at full volume.
Treat the Room's Acoustics
You can seal a room completely and still dislike how it sounds inside. Sealing and treating are two different jobs.
Isolation controls what leaves the room. Acoustic treatment controls what happens to sound before it reaches your ears. In a sealed rectangular box, sound bounces off every hard surface, and those reflections arrive a fraction of a second behind the original. Dialogue turns muddy. Effects smear.
Acoustic panels absorb most of that. They go at the first reflection points, the spots on the side walls and ceiling where sound bounces on its way to the seats. Carpet over dense underlayment does the same job at the floor. Skip both and you have a sealed room that still sounds like a basement.
Plan Wiring, Lighting, and Ventilation Before Drywall
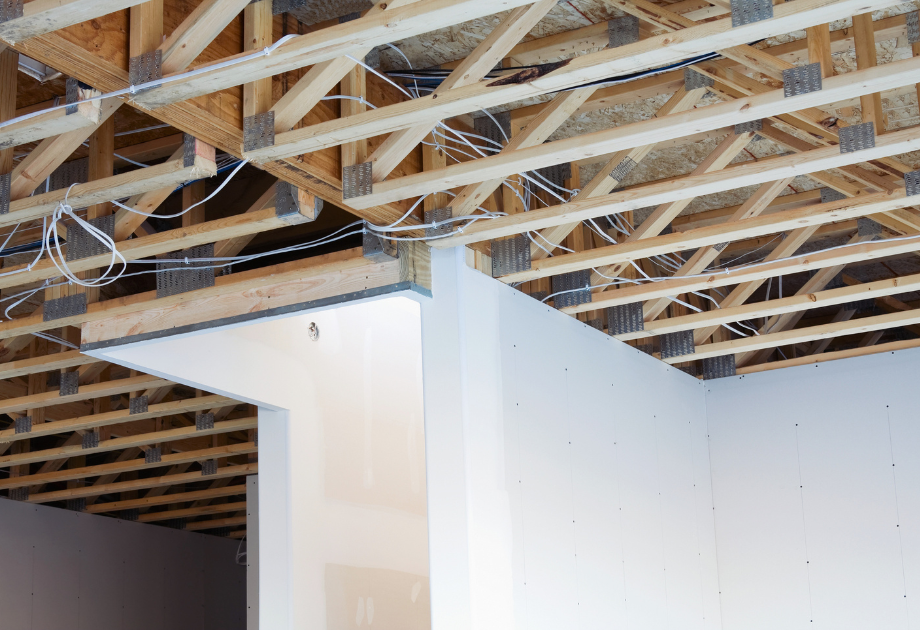
Everything in this stage lives inside the walls and ceiling you just sealed. Once the drywall goes up, opening it again means cutting through the isolation you paid for and rebuilding it afterward.
So the rough-in stage is where these decisions get made. Every wire, every fixture location, and every duct run gets placed before the walls close. Any basement finishing project works this way, and a theater tightens the rule further, because the walls are doing acoustic work now.
Empty conduit is the hedge. Run it to the screen wall and to the equipment location now. Then a future upgrade means pulling new cable through instead of opening a finished wall.
Wiring
Amplifiers, receivers, and subwoofers pull heavy current. Give them dedicated 15- or 20-amp circuits. That avoids both tripped breakers and the hum that shows up when audio gear shares a circuit. The average system connects 2.7 devices, so plan outlets and HDMI runs past the equipment you own today. Gear also draws power while it sits switched off, and a smart power strip cuts that draw.
Lighting
Theater lighting has two demands on it. The room has to go fully dark, and the fixtures can't puncture the ceiling you just sealed. Recessed lights in sound-rated back-boxes handle the second. Dimmable zones handle the first, so you can light the stairs without lighting the screen. Paint the screen wall a dark, low-sheen color. Then reflected light stops washing out the contrast.
Ventilation
Sealing the room cut off its airflow. The equipment rack inside it runs hot on top of that. Run supply and return ducts to the room, then baffle them or run them flexible so they don't undo the isolation work. Exhaust has to terminate outdoors, never into an attic, a crawlspace, or the unfinished half of the basement.
Build Your Basement Theater with Beta Construction
Look back at what this room takes. Seven trades work on it, and each one has to finish before the next can start. No single trade owns that sequence. A basement remodeling project fails when nobody is tracking it. The moisture test gets skipped. Then the drywall closes over air sealing that was never verified, and the conduit that should have been run behind it never went in.
A basement finishing contractor holds the order. We handle the moisture barrier, the framing, the permits, the electrical runs, and the drywall in sequence. So your AV installer walks into a room that is already dry, sealed, wired, and ready for equipment.
Beta Construction has finished Cincinnati basements for more than forty years. We plan the moisture work around what this soil does to a foundation after a wet spring. And we schedule the trades so nobody opens a wall that was closed correctly the first time.
The screen, the seating, and the dark room are the last things to go in. Everything that determines whether they hold up goes in before them. Start your remodel and get that part right.